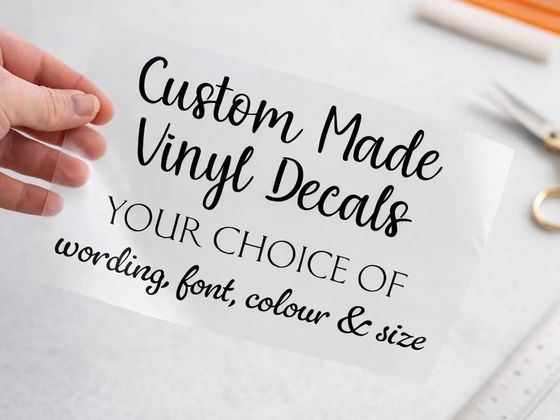
Ideas & guides
Vinyl decal tips: measuring, ordering and applying
How to measure, what to put in the personalisation box, applying vinyl in winter, and looking after it afterwards.
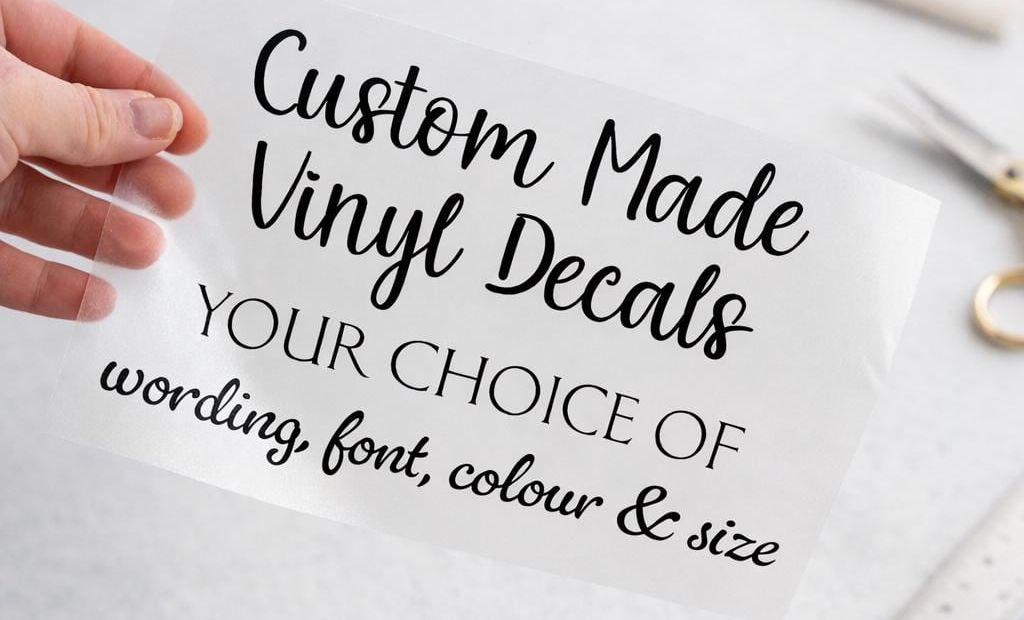
Everything here comes from Fliss’s own listings, so it applies to Bessie Boo decals. If your project is unusual, or you’re not sure something will work, message Fliss through Etsy before you order. She’s always happy to help.
Measure before you order
- Measure the space where the decal will go, across and top to bottom, and put a maximum width or height in the personalisation box if it matters.
- Crate decals are sized for a Hobbycraft crate 40cm wide, with a 7cm top bar and an 8cm bottom bar. If your crate is different, Fliss can resize the design if you message her first.
- Small decals hold fewer words. The 8cm and 10cm custom decals fit about 3 to 6 words, and the border decals suggest allowing at least 5cm per word.
- Want one line, not a square? The custom decal is made up as a square. For a single line, order a name label instead.
Fill in the personalisation box carefully
- Check the spelling of every name and word. The decal is made exactly as you type it.
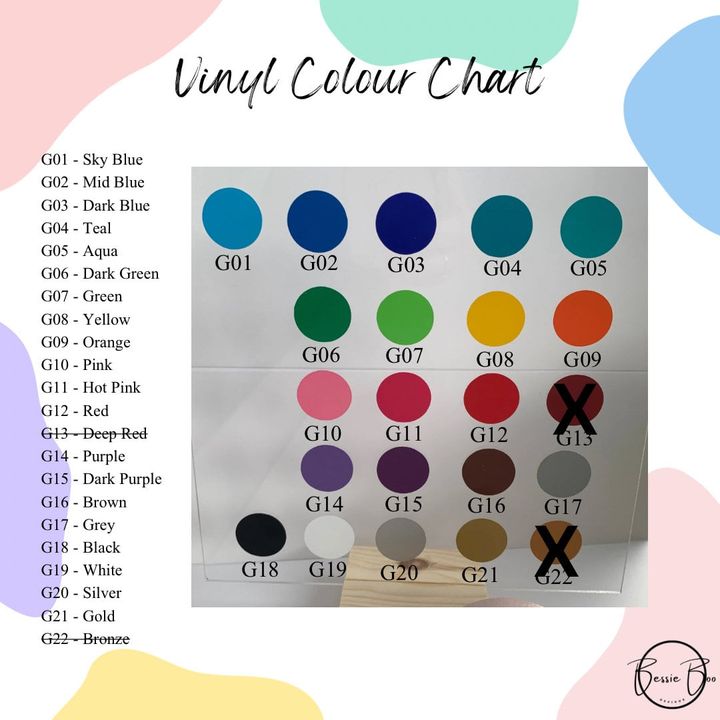
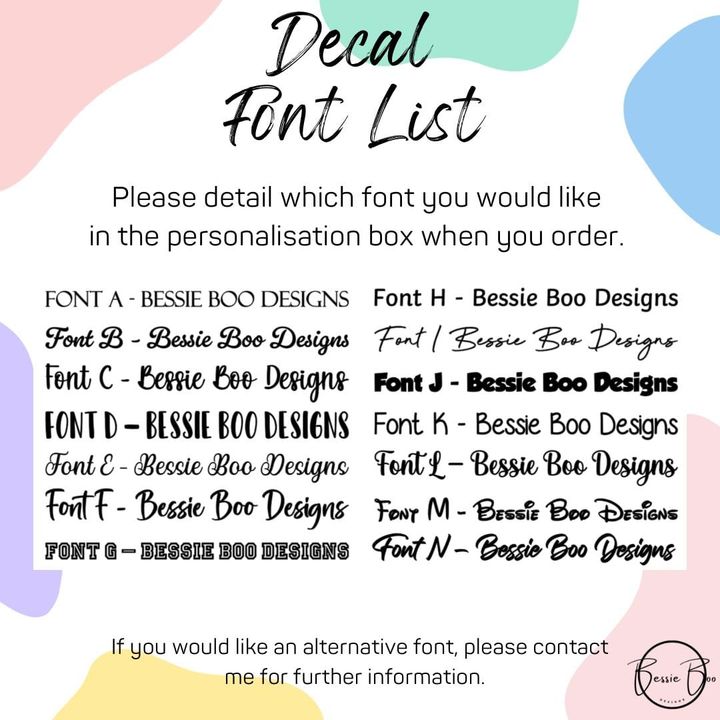
- Give the font and colour you’d like, using the codes in the listing photos, for example “G18 – Black”. On the border decals, G18 gloss black is the default if you don’t choose.
- Ordering several labels? Fliss makes the longest word at the width you asked for, then matches the others to the same height, so a set looks consistent.
- For a toy storage decal or a custom design, Fliss may send you a proof to approve, so keep an eye on your Etsy messages.
Choose a colour that stands out
The listing photos include a colour chart of about 20 vinyl colours. Pick one that contrasts with the surface it’s going on: dark lettering on pale wood or clear glass, or light lettering on a dark or coloured surface. If you’d like a colour you can’t see, ask Fliss. She has a larger selection.
What the transfer tape is for
Your decal arrives on transfer tape. The lettering has no background, so the tape holds all the letters in position while you put them on. Follow any instructions that come with your decal.
Applying it
- Choose a smooth, clean surface. That’s where vinyl works best.
- Line it up before it touches. Once it’s placed, a decal can’t be moved or reused.
When it’s cold
Fliss’s listings include her top tips for winter, because vinyl doesn’t like the cold:
- Warm the transfer between your hands before you apply it.
- Make sure the item you’re applying it to is at room temperature.
- If it’s still tricky, leave it on the item with the transfer tape for an hour or so. That helps it transfer.
- If it’s still being tricky, use a hairdryer on a low setting for a short time.
Easy slips to avoid
The listings point to a few things worth getting right:
- a spelling mistake in the personalisation box
- a decal that’s too big for the space, because nobody measured
- rushing the placement, since it can’t be repositioned
- applying it in a cold room
Looking after it
- The decals are fine on washable items, but not dishwasher safe.
- They’re removable, but they can’t be reused once applied.
- Finished jars and glassware from the shop say hand wash only, and some glassware isn’t microwave safe. Check the care notes on each product.
Ready to start?
The Make something personal projects walk through a few gifts step by step, or browse custom decals for your own idea.